
Want to add the feature that allows you to send files to SharePoint from your K2 App? If YES you are in the right place !!! 😉
To carry out this task, we will install a new Broker. This Broker will allow us to send a file on SharePoint by specifying: The URL of the site, The library, The path (or directly uploder the file from our PC). In the following of this tutorial, we will summarize the different steps to install and use this broker.
Deployment broker
-
-
-
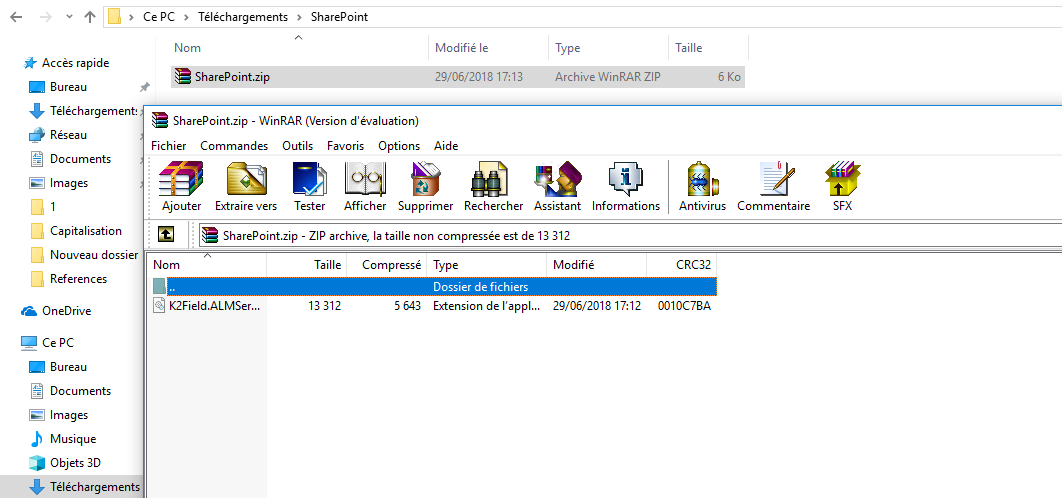
- Download the DLL by clicking here: After clicking on link , you have a ZIP archive that you have to decompress
-
- Place the DLL file in the ServiceBroker folder of the K2 installation directory (by default C:\Program Files (x86)\K2 blackpearl\ServiceBroker)
Note : When updating a broker service, the DLL file is replaced by the operating system (and therefore not replaceable). It is necessary to restart the service K2 blackpearl to do the manipulation.
-
- We will now use the SmartObject Service Tester tool, available in the K2 bin de K2 (default: C:\Program Files (x86)\K2 blackpearl\Bin\SmartObject Service Tester.exe) to install our Broker. You only need to select Register ServiceType in order to choose the broker to install. In our case, we will install the DLL: K2Field.ALMService.SendToSharePoint
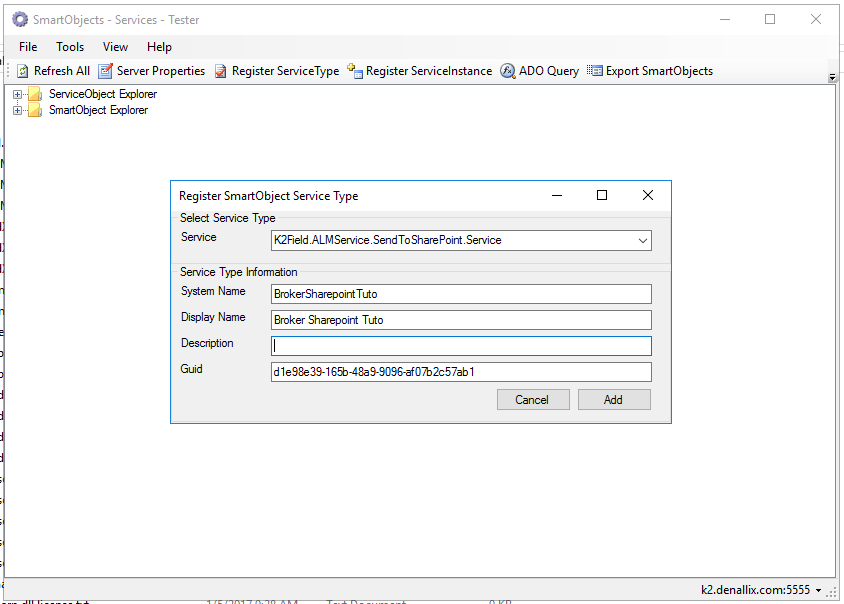
Once the correct DLL is selected, just fill in the fields.
-
-
- System Name : you can leave it as is or change it (as long as there are no special characters or spaces).
- Display Name : the name that will appear in the design tools (special characters allowed).
- Description : a talking description of what this connector is for.
- Guid : to leave as is during the original installation. Keep this ID and reuse it when deploying the broker on your other environments).
-
After pressing Add a new line appears in the ServiceObject Explorer. The Type Service has been created (referenced at the K2 server level) and therefore the “connector” becomes usable.
Instantiation of the broker
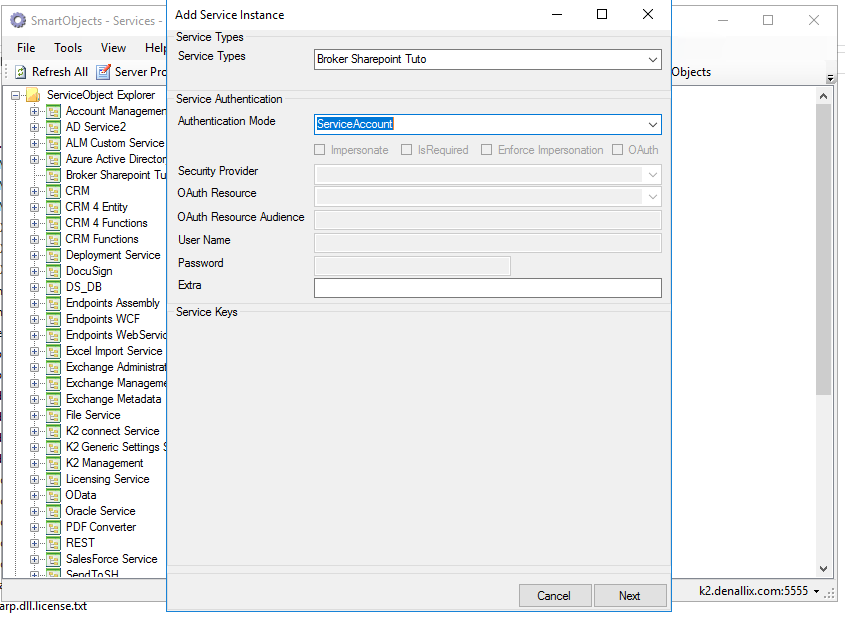
We will register an instance for this connector:
-
- So on this Service Type: clic-droit > Register ServiceInstance
Authentication mode: the broker’s execution account (the account that will therefore interact with the data source). The choice will depend on how you want to connect to the data source and the associated permissions. In our case we will choose: Service Account
-
- Then click Next (the configuration can be modified without problems later if necessary).
- Then click Next (the configuration can be modified without problems later if necessary).
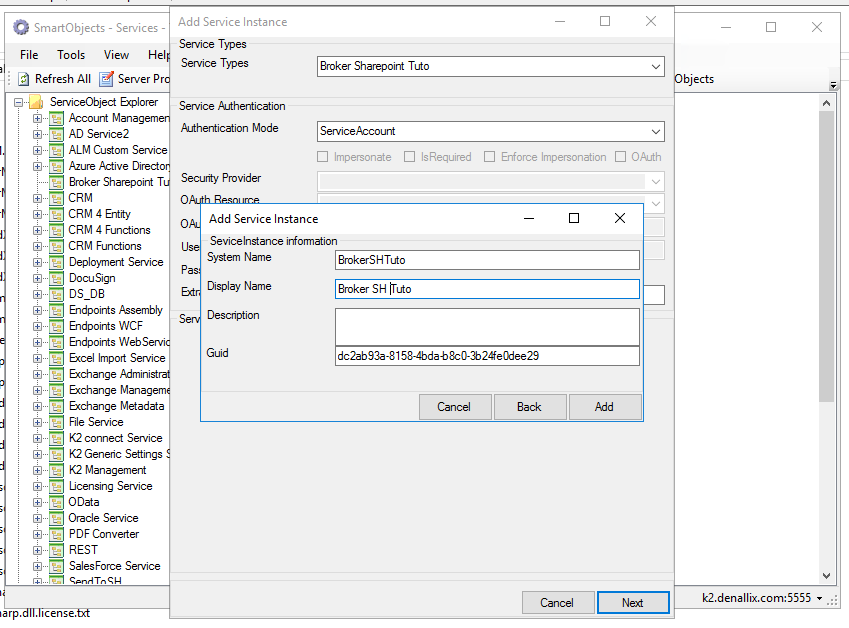
- Fill in the System Name and Display Name in the pop-up that appears (same constraints as before, it is this time the name of the instance of the broker). Then press Add.
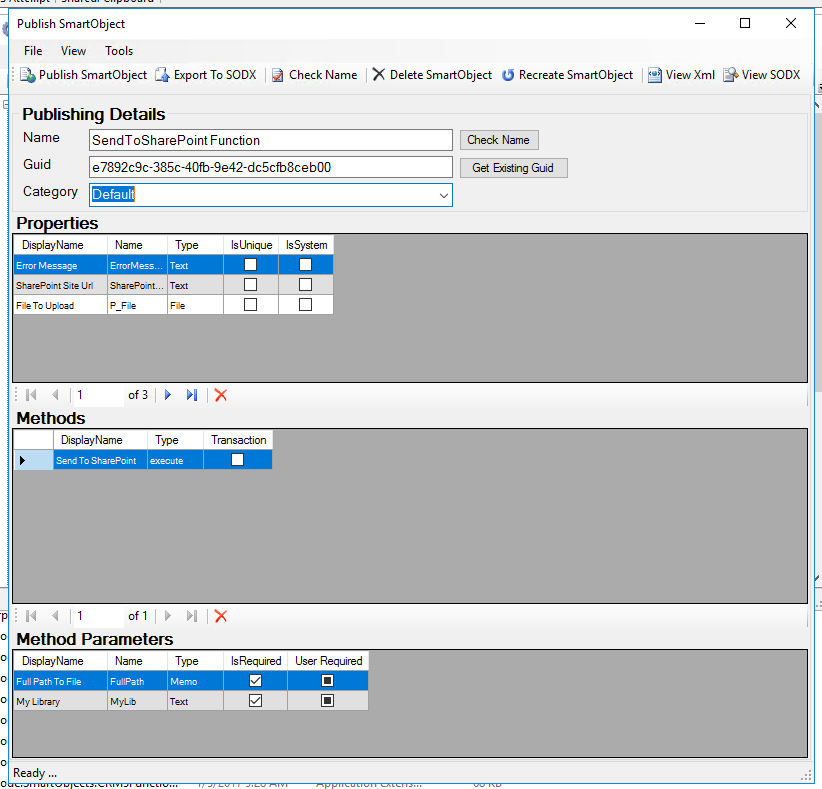
Creating the SmartObject
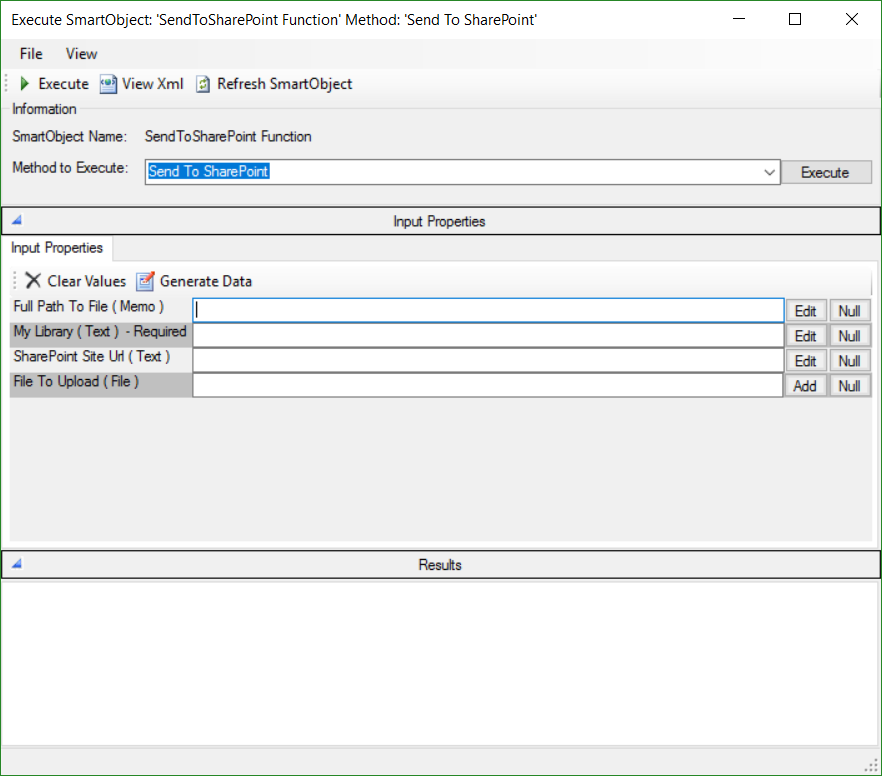
Running the SmartObject
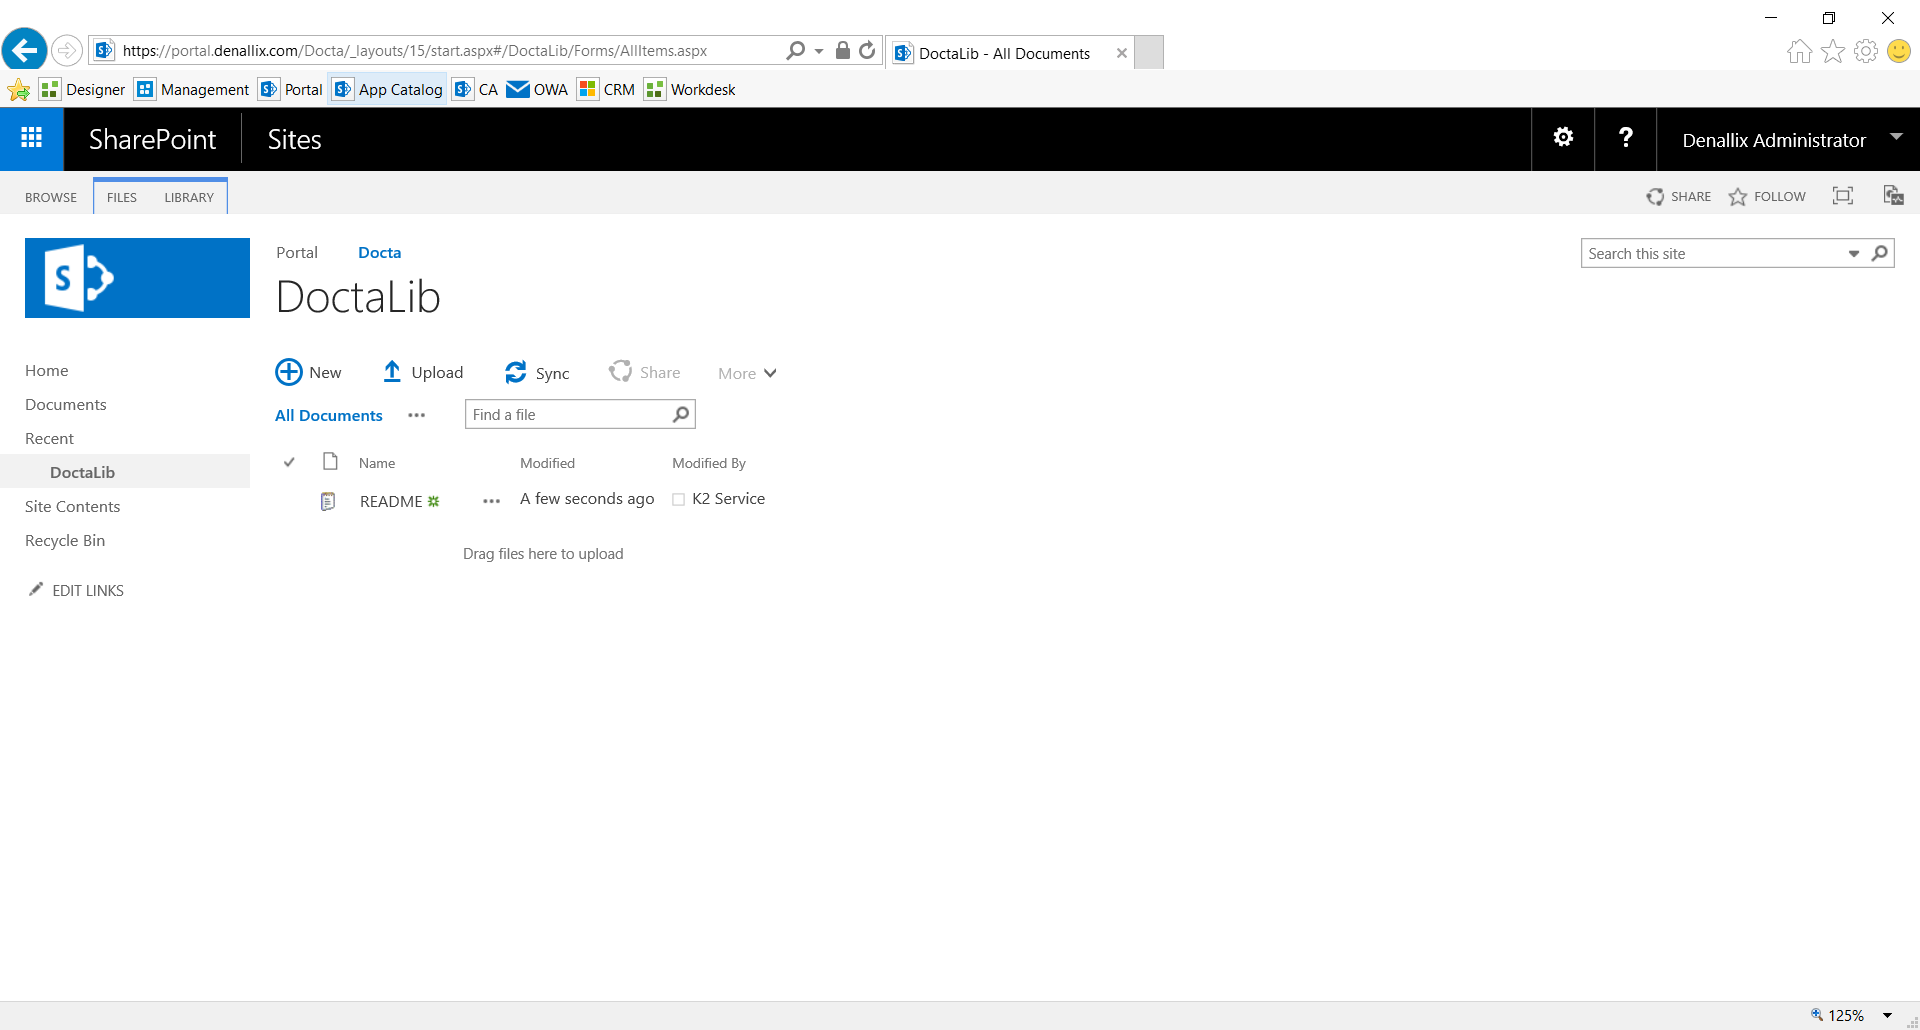
Here is the SharePoint library in which we will upload the file.
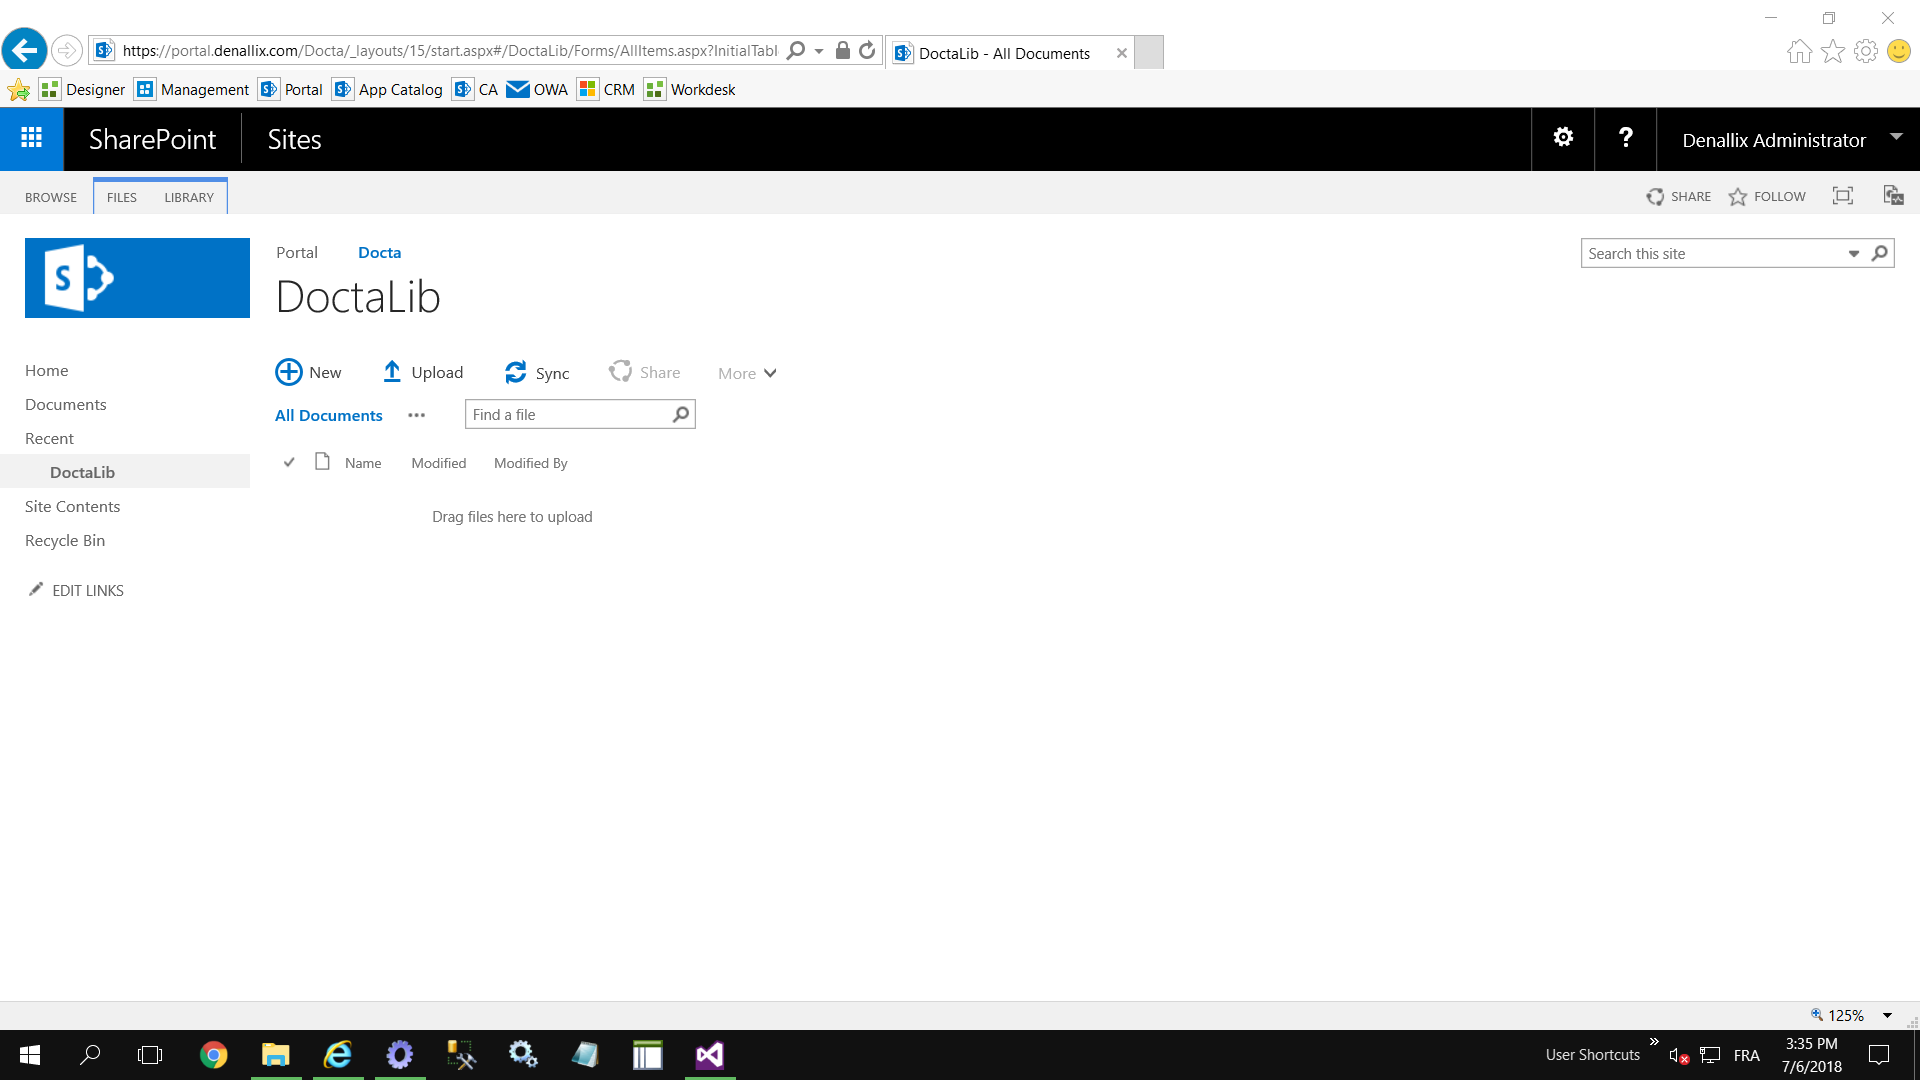
You must specify: The URL of the SharePoint site, The Library and the file to be sent (Either Upload the file from your PC, or you enter the absolute path of the file to Uploder).
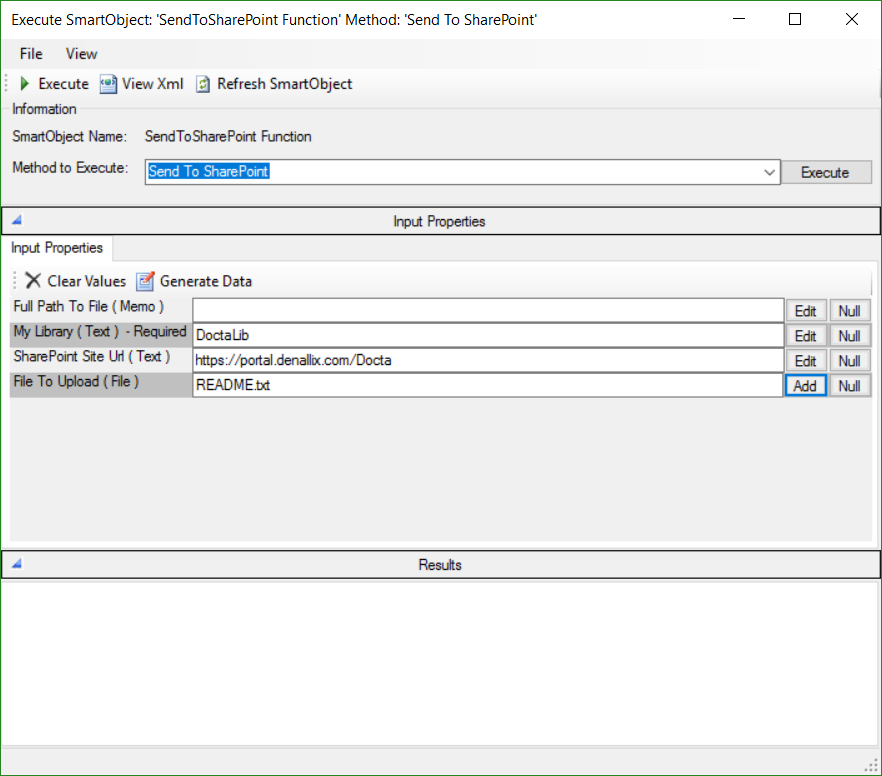
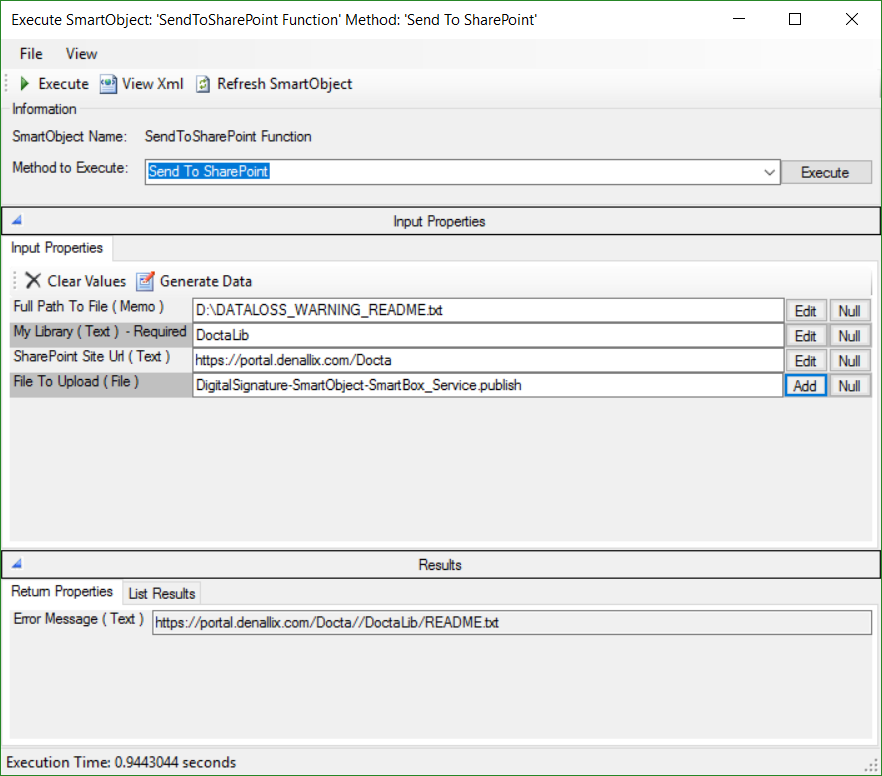
Fill in the URL of the site, the library and Upload the file from your PC. In our case, we loaded the file README.txt. Click on “Execute”
The README.txt file copy to SharePoint.
When we inform the absolute path of the file to upload and we also upload the file, the file that will be sent on SharePoint is the one that has been uploded from our PC because it has priority.
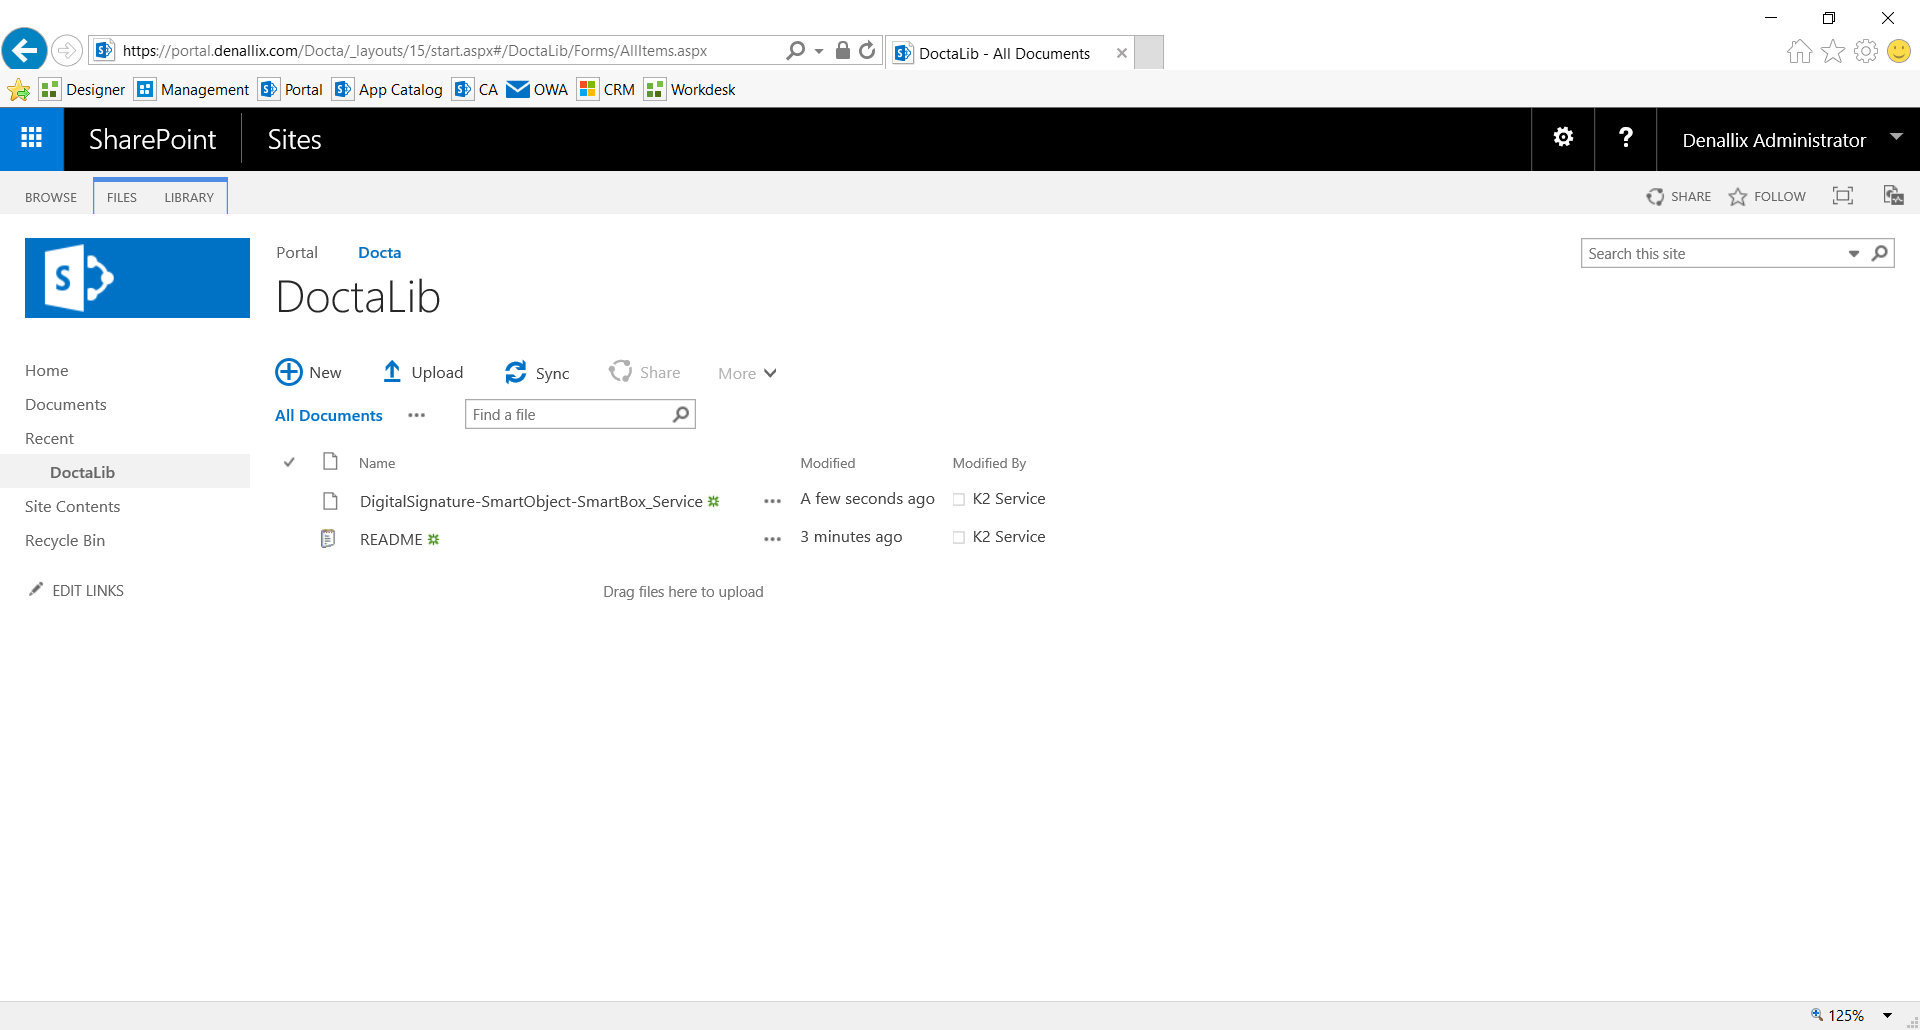
The file loaded from the PC has been copied to SharePoint.
It’s your turn 😉
-
-