Why zip files or folders into your K2 applications ❓
The need to reduce the size of the files on the disk, or to consolidate a set of files into one for sending them by mail becomes of paramount importance. You may have already done this using compression software such as: Winzip, 7-Zip, AIZip etc. Well for your K2 application, we offer ZipUnzipMove Broker which offers you the possibility to move your files and folders from one place to another. For more details follow this article step by step. 🙂
Download Broker
Click on this link for download.
Broker Installation
1. Copy the DLLs
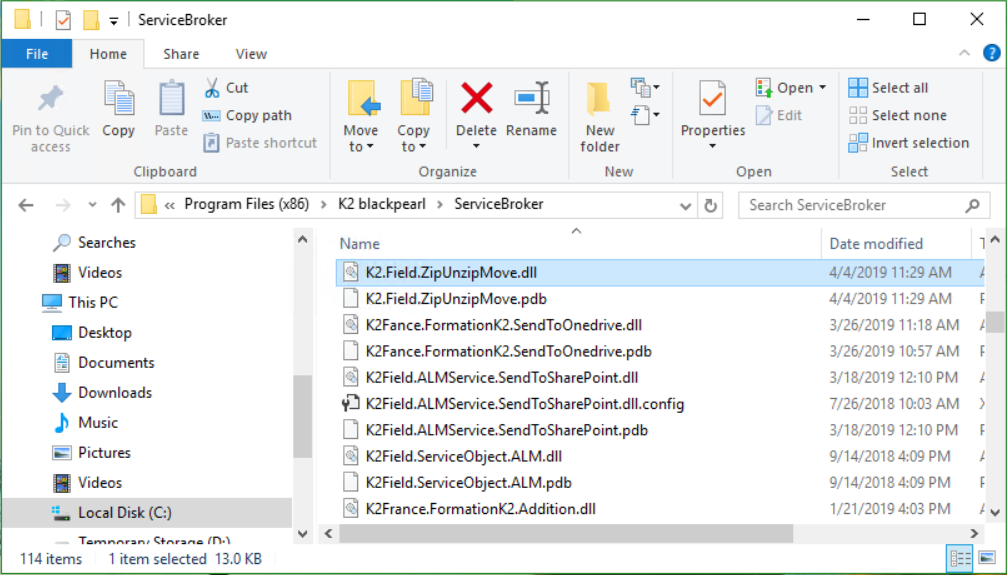
After downloading the service broker, open and copy DLLs to the ServiceBroker folder in your K2 installation directory.
2. Creation of the Typical Service
Once the DLLs were copied, open the SmartObject Service Tester Utility, then click on the “Register ServiceType” button
- Service : Locate the deployed service
- System Name: You can leave the default name or edit it
- Display Name: this is the display name of your service, ie the one that will be visible
- Description: it is not mandatory, it just allows to get an idea of why the service is created
- Guid : leave the default
- Click on “Add”
3. Creation of the Service Instance
Once the button “Add” clicked, a new service type appears, it is necessary to create an instance of this service (right click, then Register Service Instance )
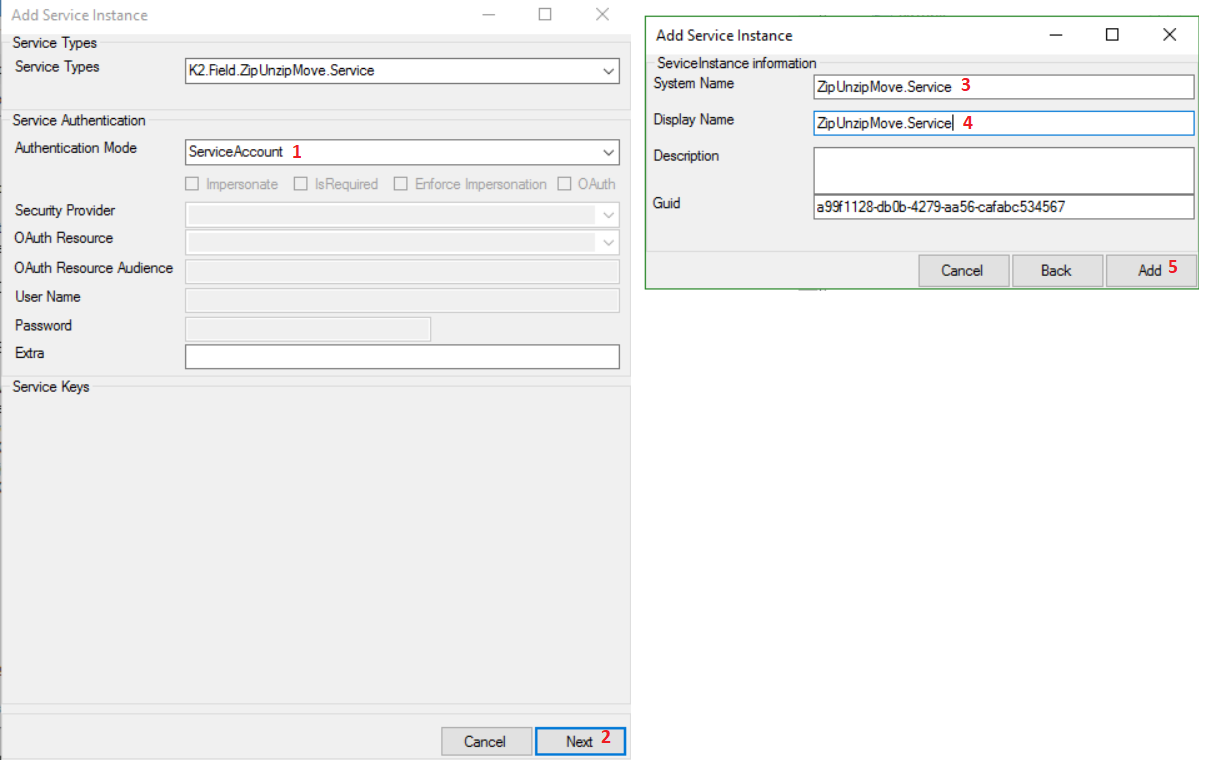
- Authentication Mode: The authentication mode is requested choose Service Account
- Click on Next to continue
- Enter the Sytem Name and Display Name of your instance service , then click Add
4. Creating the SmartObject
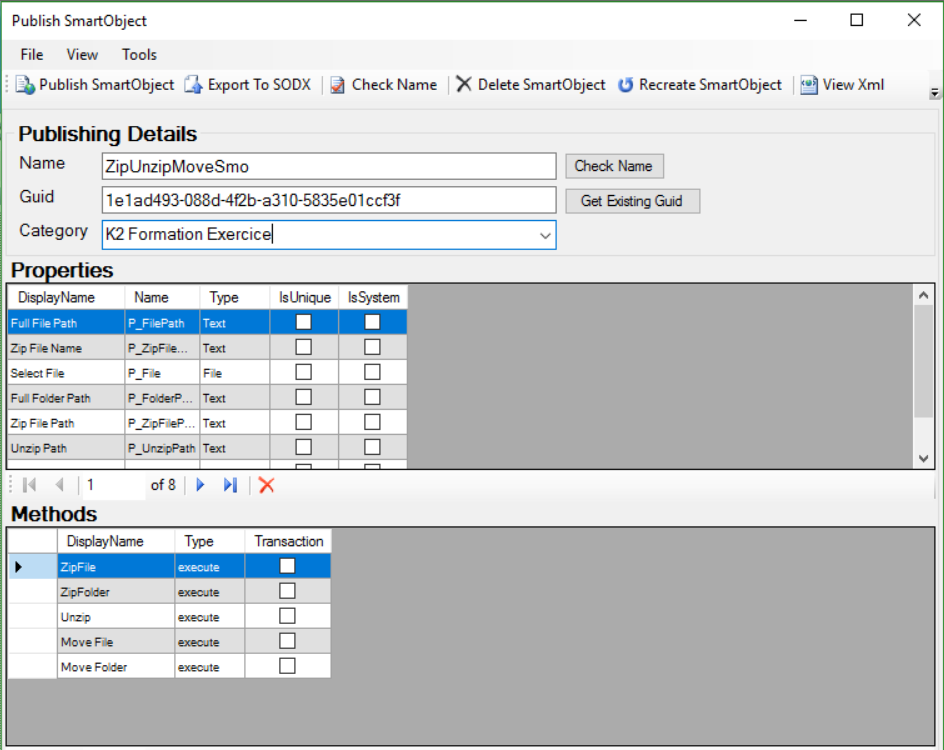
- Generate a SmartObject by right-clicking on the “ZipUnzipMoveSmo ” service and then “Create SmartObject”
- In the “Name” field, enter a name or leave the default name
- In the “Category” field choose the category where your SmartObject will be placed (usually the SmartObject folder of your K2 Application)
Then click on “Publish SmartObject”
Running the SmartObject
We will now test our SmartObject ie test our methods that zip, unzip and moves.
1. Zipping a file or folder
Go to the “SmartObject Explorer” section , then go to the category where you published your SmartObject (in this case “K2Formation Exercise” ), then right click on the created SmartObject and choose “Execute SmartObject”. Choose the ZipFile method .
- Select File: select the file to zip
- Zip File Path: fill in the path to the directory that will contain the zipper file
- Zip File Name: This field is optional. Fill in this field if you want the zipped file to have a name other than the original file
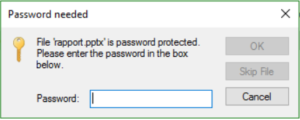
- Password: The password is used to secure the file, if a user tries to open the file, it will be asked for a password as in the following figure
- Enter a password if you want to zip the file with a password.
- Overwrite if exist: Set “true” if you want the file to be replaced in the destination if it already exists
To zip a folder, change the method and choose ZipFolder
- Full Folder Path: fill in the full path to the zipper folder
- Zip File Name: if you want the zipped folder to have another name
- Password : you can also enter a password
2. Unzip a file or folder
Now let’s test the unzipped method:
- Select File: select the file or folder to unzip
- Unzip Path: fill in the path to the directory that will contain the file or folder unzip, when the specified path does not exist it is created at the time of zipping
Note: When a file has been zipped with a password, to unzip it you must also enter the same password in the “Password” field .
3. Move a file or folder
The Move Folder method lets you move a folder by cutting it from its original directory. While the Copy Fileand Copy Folder methods move a file or folder to a specific destination by making a copy of it.
To do this, just specify the file (at the level of Select File ) or the folder to move ( Full Folder Path ) and the destination directory ( Destination ).
Note: If the specified destination does not exist, it will be created when the method is run.
The Move Folder method
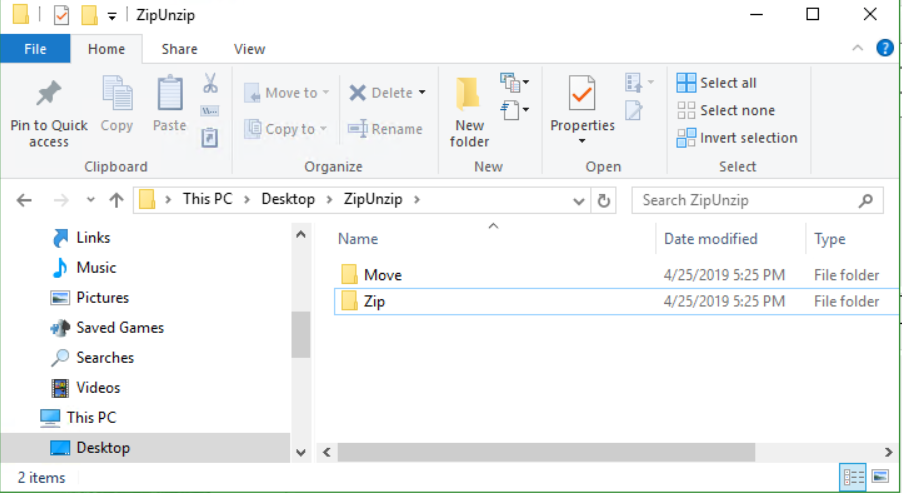
As you can see here, the move folder is completely cut from its original directory
Copy a file : The Copy File method allows you to do this
As mentioned above, set “true” to the Overwrite if exist level if you want the file to be replaced in the destination directory if it exists.
Copy a folder : change and choose the Copy Folder method and execute
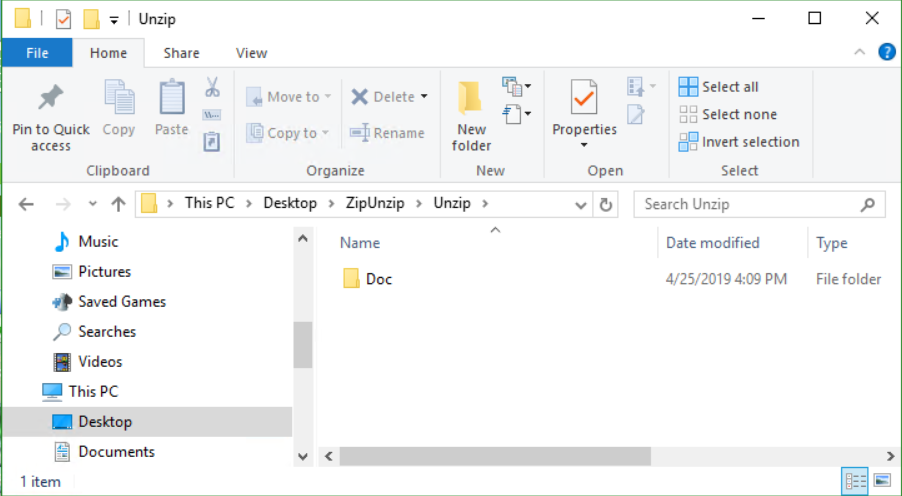
We can see that the ” Doc” file that we just copied is still present in its original directory
Here you can now generate a SmartObject to use this broker in your K2 application.
See you later! 😉
