
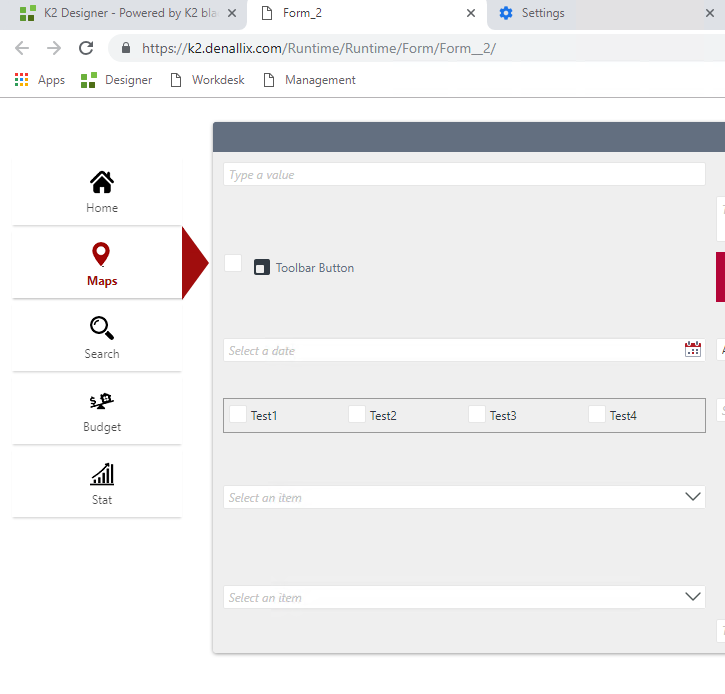
In this article I will show you how to turn your tabs into some pretty tabs. We are going to change the style of your forms based on K2 SmartForms in order to get the following result.
Download the necessary resources
Click here to download the necessary resources.
Deploy and use resources
Take down the downloaded zip file and unzip it in the K2 server, copy the file in the folder of your custom theme, for instance, in this example, we will update the Lithium theme:
. Please adapt the above path according to your case.
Open the CSS file of the Theme, in my case
and import the style file in the Resources folder you downloaded with the code:
.Add this code at the botton in the file and save your changes.
Clear your browser cache or use the command
. Navigate to form that uses your theme and contains the tabs.
NB : Be sure to launch the Runtime link because that’s where we deployed our theme.
Adapt the code according to your needs
You have surely noticed that the icons are predefined and that I use the color red. And if I show you how to change all that? 🙂
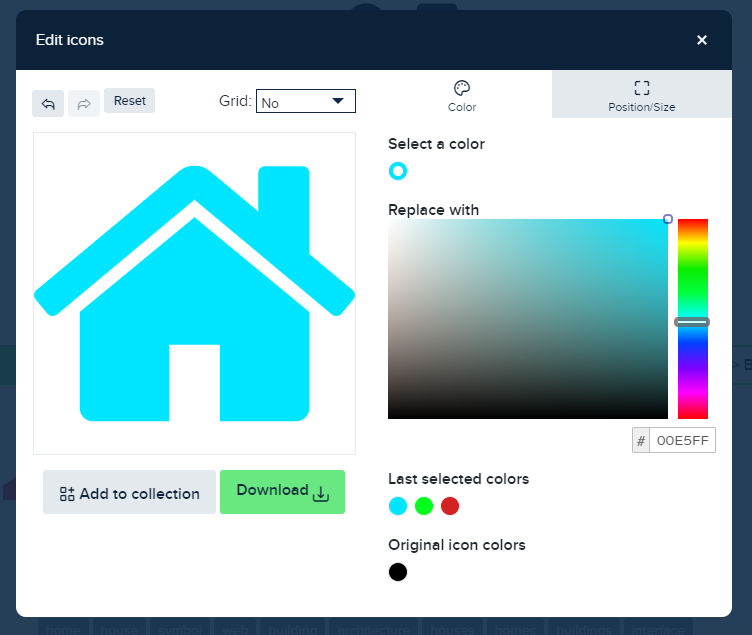
First of all, you need suitable icons. You can download some free of charge from the website flaticon.com and edit the color of any icon, but you must create an account to access this feature.
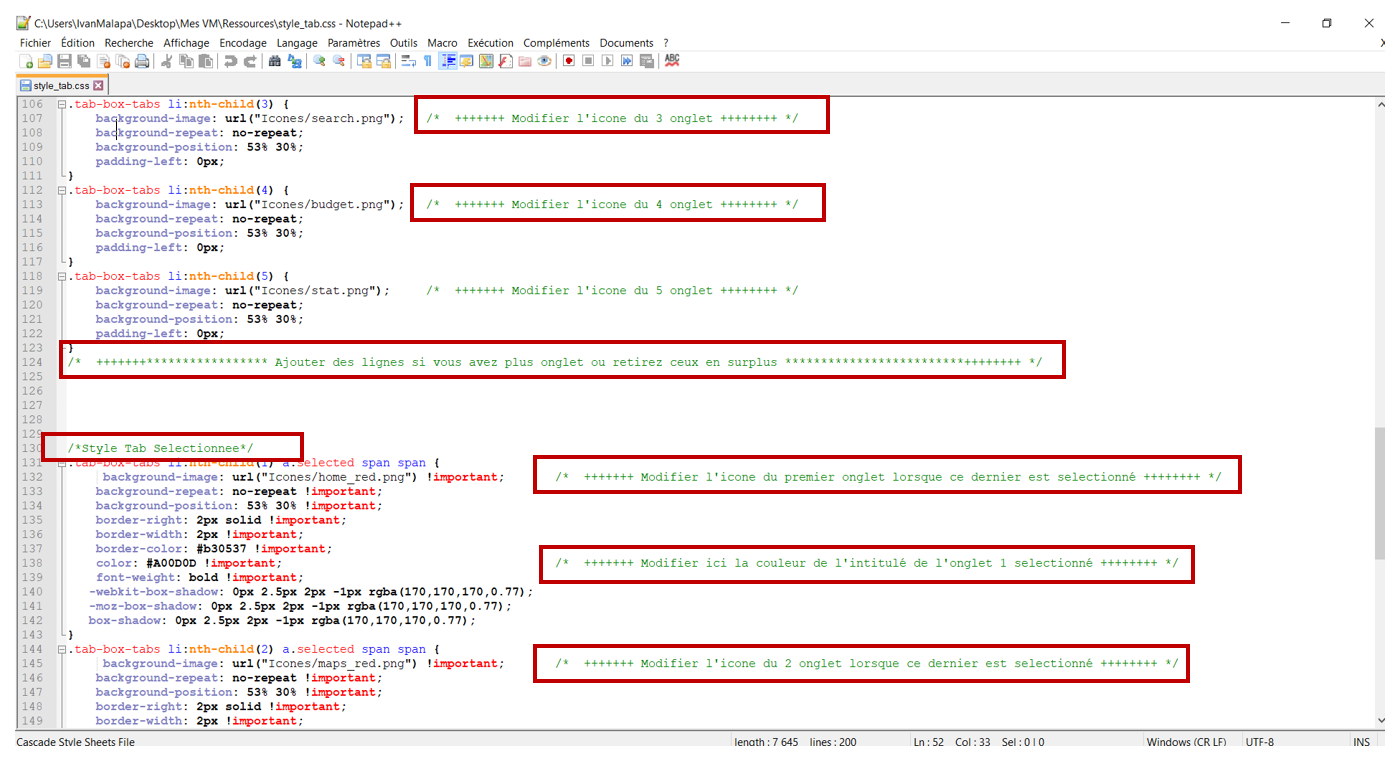
You must have two icons for each tab (a default icon and the same icon in a different color that will appear when the tab is selected). Put your icons in the folder Icones located in the Resources folder which is itself in your Lithium theme folder, in my case. Open the file style_tab.css in edition, it is well commented and explicit to allow you to modify the CSS properties.
Now you are ready to create awesome tabs in your K2 SmartForms 🙂
Thank you and don’t hesitate to leave a comment if you have any questions.
#k2tutofactory