
Hello !
I’ll present you an interesting tutorial 😎 : the pagination of an editable list view on K2 . Indeed, K2 allow to add the pagination on a list view that can not be editable. But it not possible to add the pagination on an editable list view. Truce of chatter let us go to the heart of the matter. 😉
First of all, we will have to design a list view editable on a smartObject.
Generate an editable list view K2
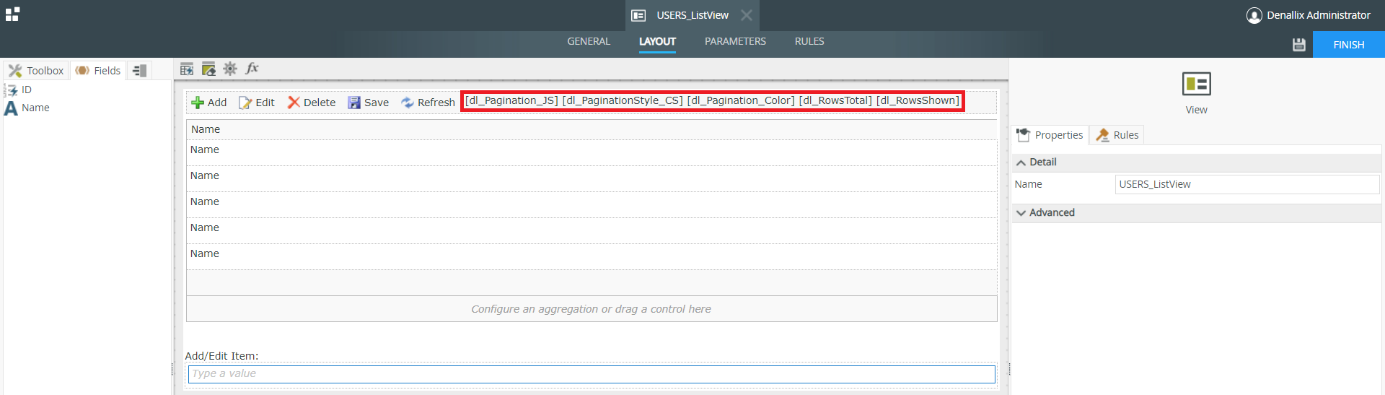
Let’s name our view USERS_ListView, this name will be used later.
Insert 05 data labels on the view :
- dl_Pagination_JS : For our JS pagination code.
- dl_PaginationStyle_CSS : For our CSS code.
- dl_Pagination_Color : To set the color of our pagination.
- dl_RowsTotal : Indicates the number total rows of our table.
- dl_RowsShow : I Indique le nombre maximal de ligne à afficher par page
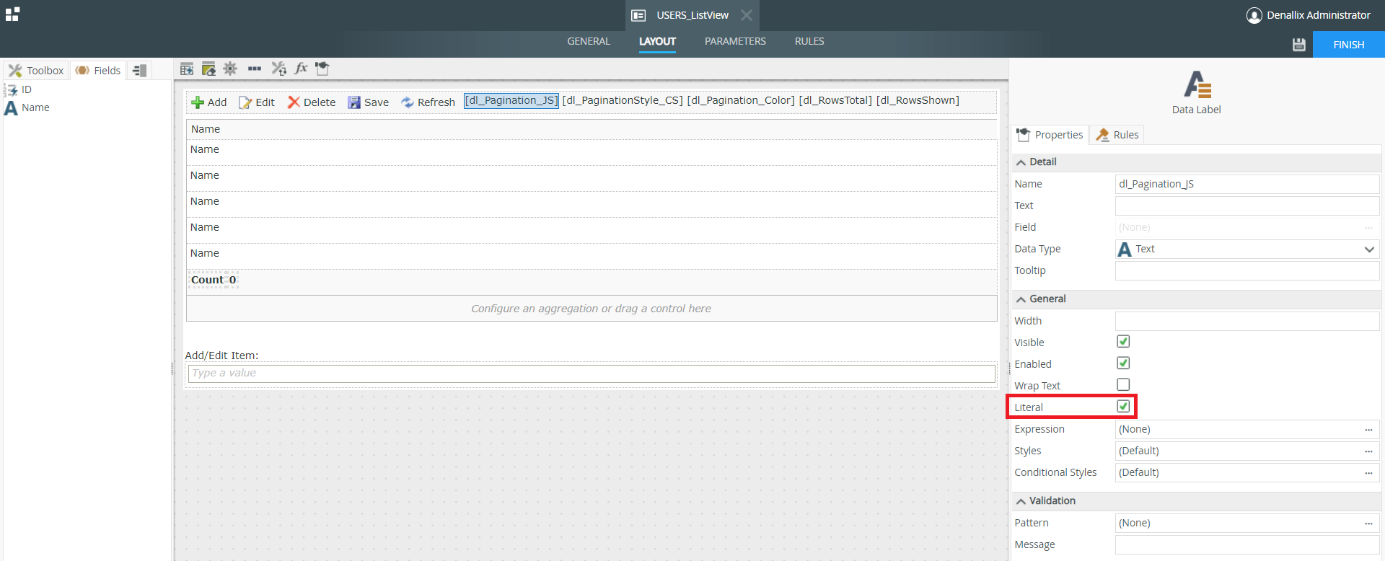
Click on data label dl_Pagination_JS (resp. dl_ PaginationStyle_CSS), then check the literal box as on image bellow.
Pagination of the configuration
Set the total number of rows :
Click on Column and the on Add, you will have two new composants as shown in the figure below.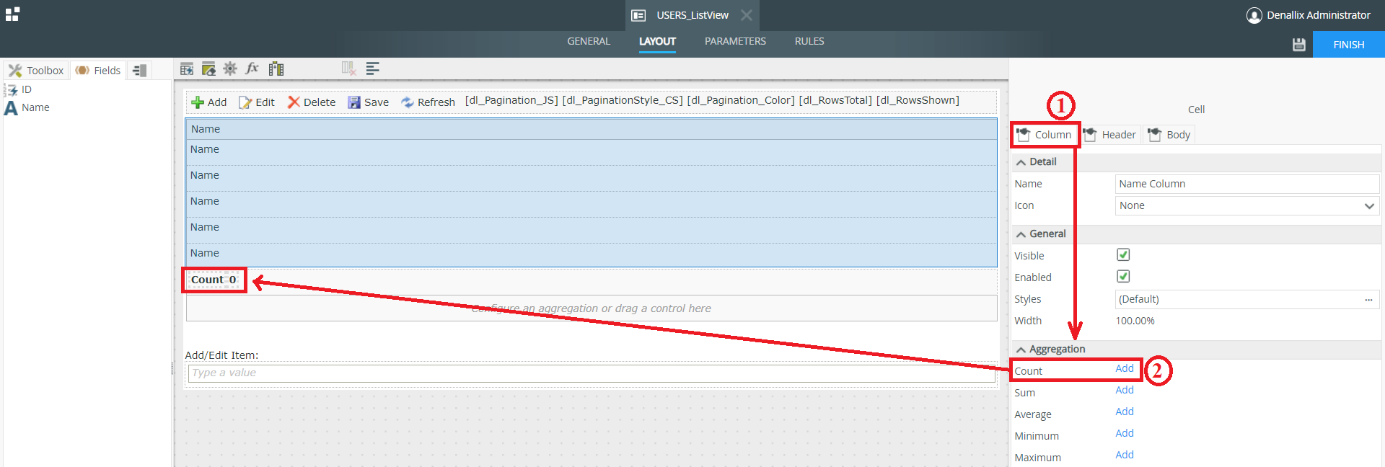
Then click on each of the components and in the properties of its components uncheck the visible box.
JS code of the pagination :
Click on fx the on Add :
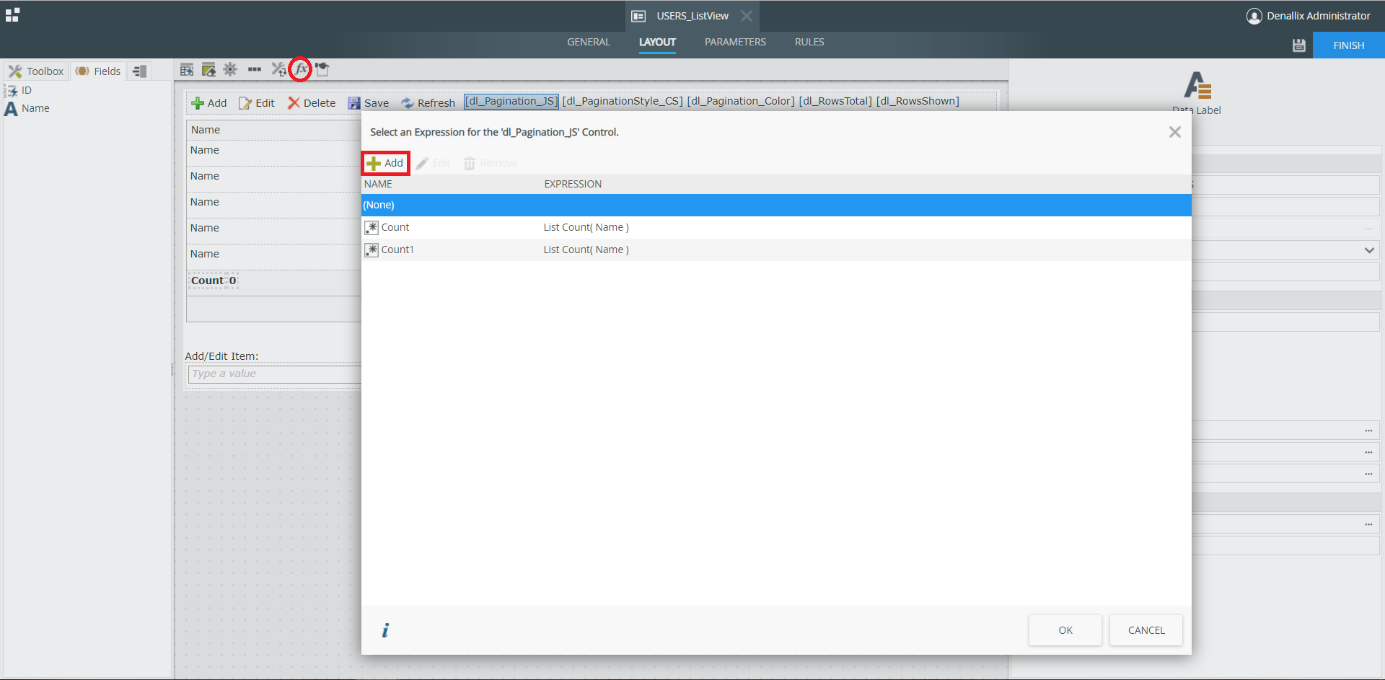
Fill in the window that opens as below: copy and paste the code the code below.
Pagination style :
Click on fx the on Add :
Fill in the window that opens as below: copy and paste the code the code below.
In the Expression details part: replace in this code the character string Pagination_Color_XXXXX by the data label dl_Pagination_Color. As shown in the figures below :

Executing the JS code :
First of all we will create an unbound rule:
Click on Add Rule
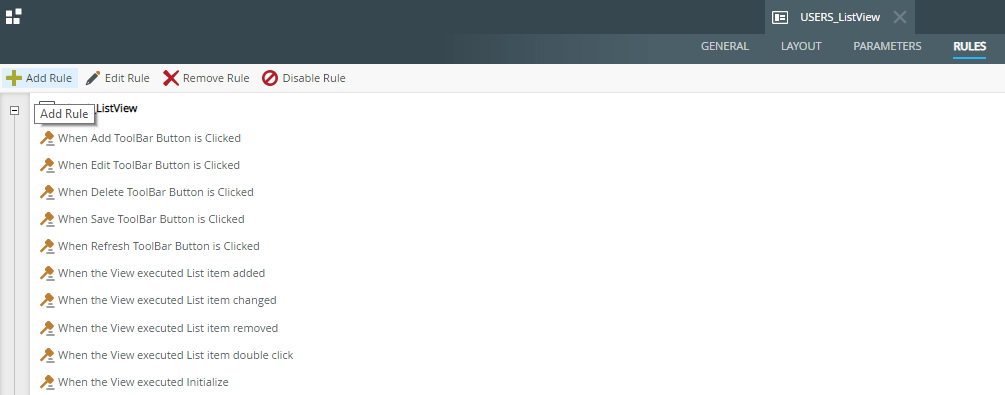
Name this rule _Load_Pagination :
Add the following three actions :
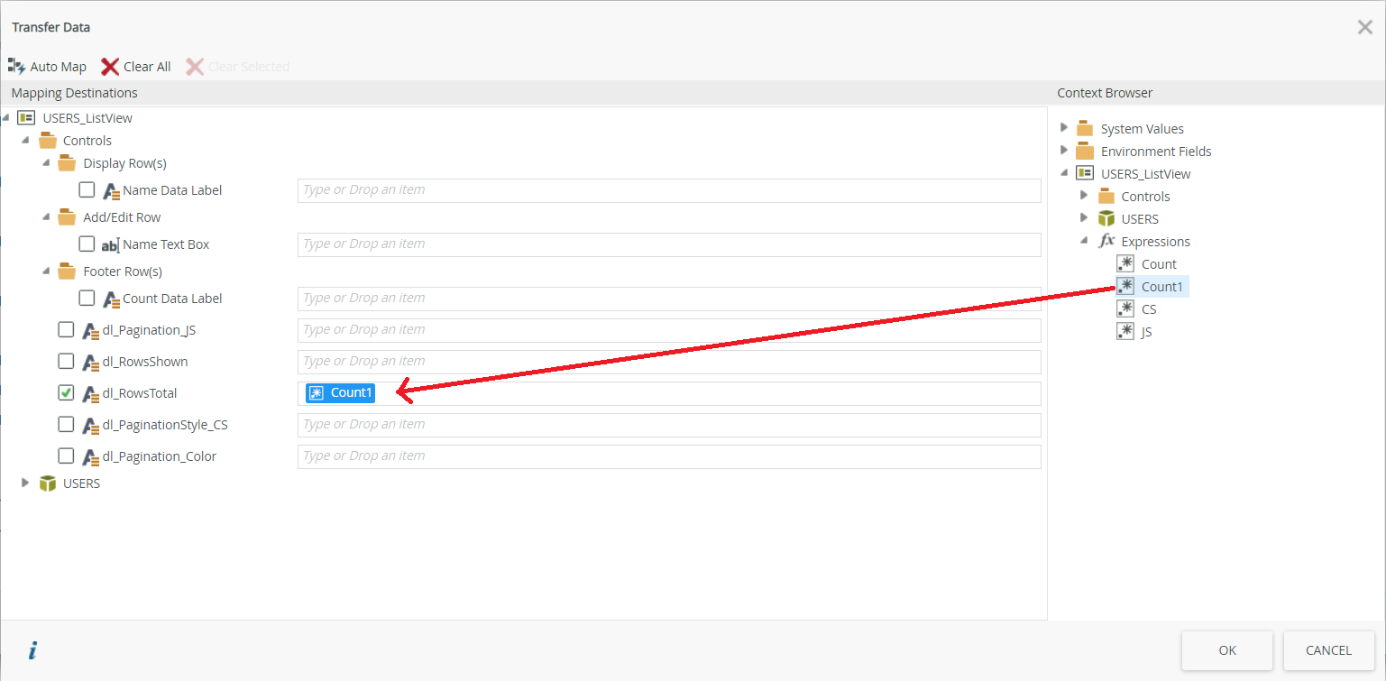
1 : transfer data
2 : set a control’s properties
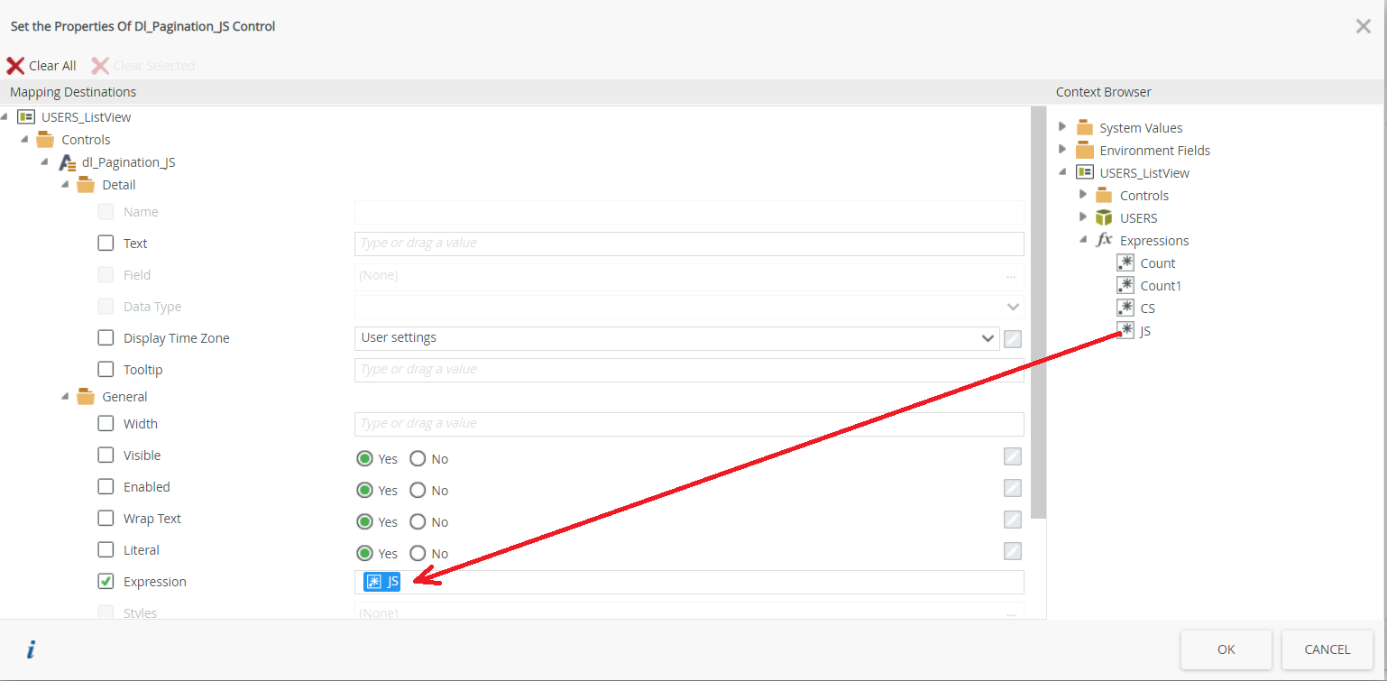
3 : set a control’s properties

1 : transfer data
2 : set a control’s properties
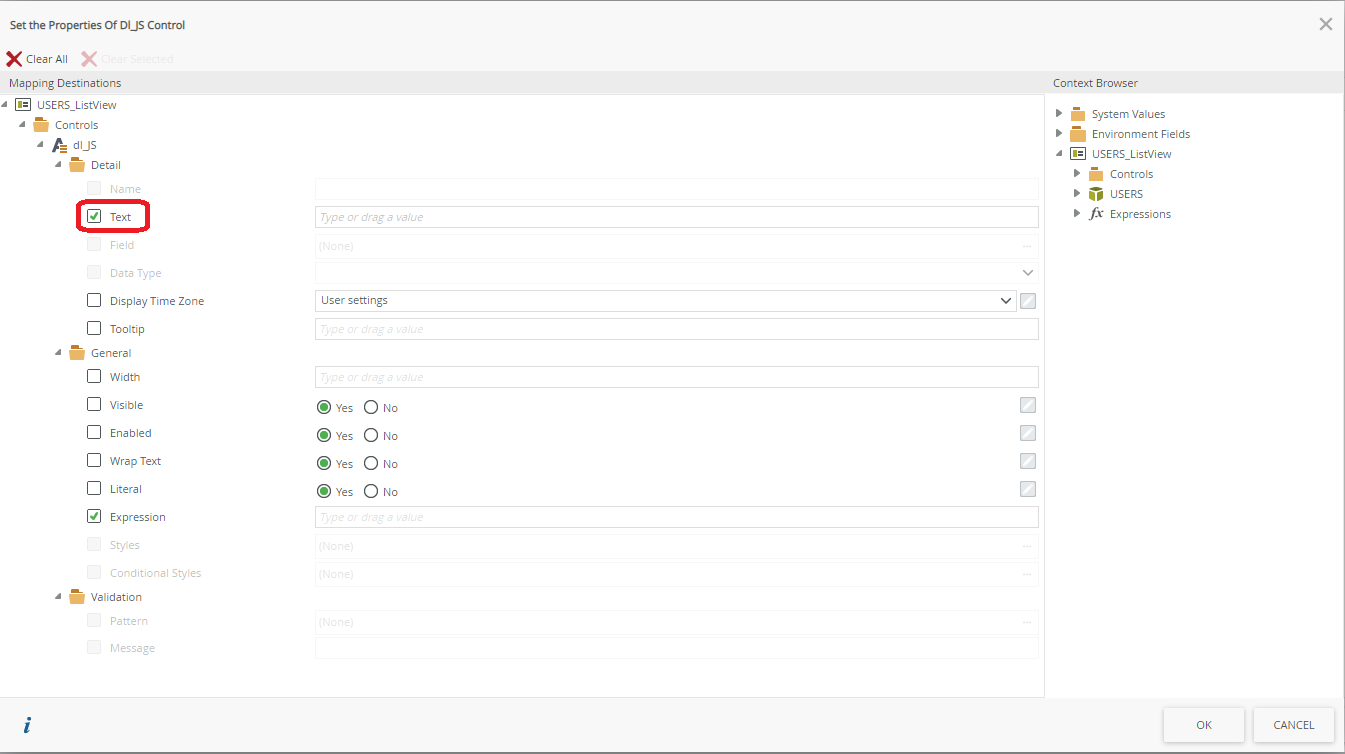
3 : set a control’s properties
Click on OK
Then in the rule tab modify the Initialize rule of our view::
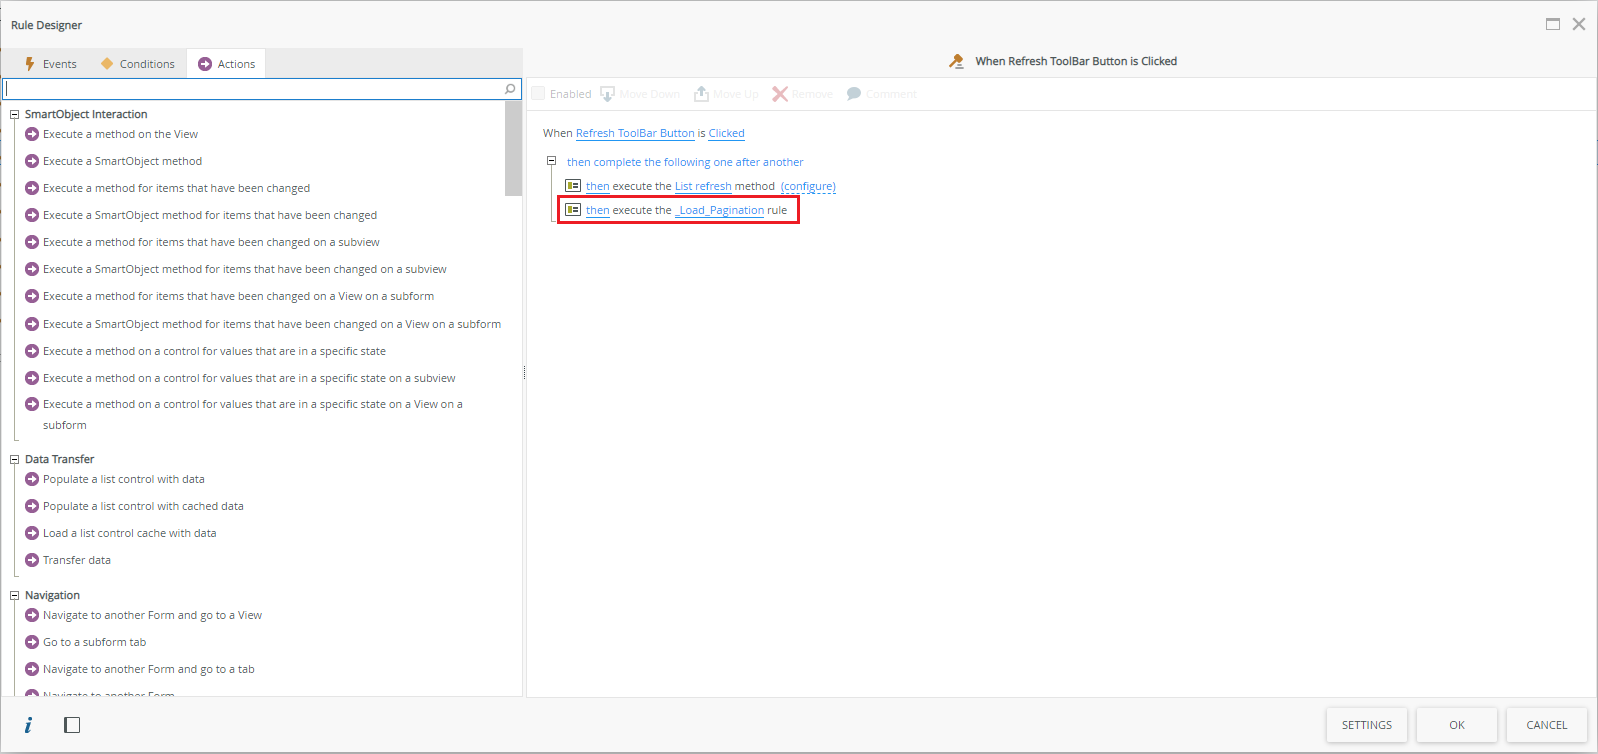
Add the action execute another rule and then select the rule _Load_Pagination created previously :

Make the same modification on the Refresh rules and add the action execute another rule then select the rule _Load_Pagination. Then click on OK.
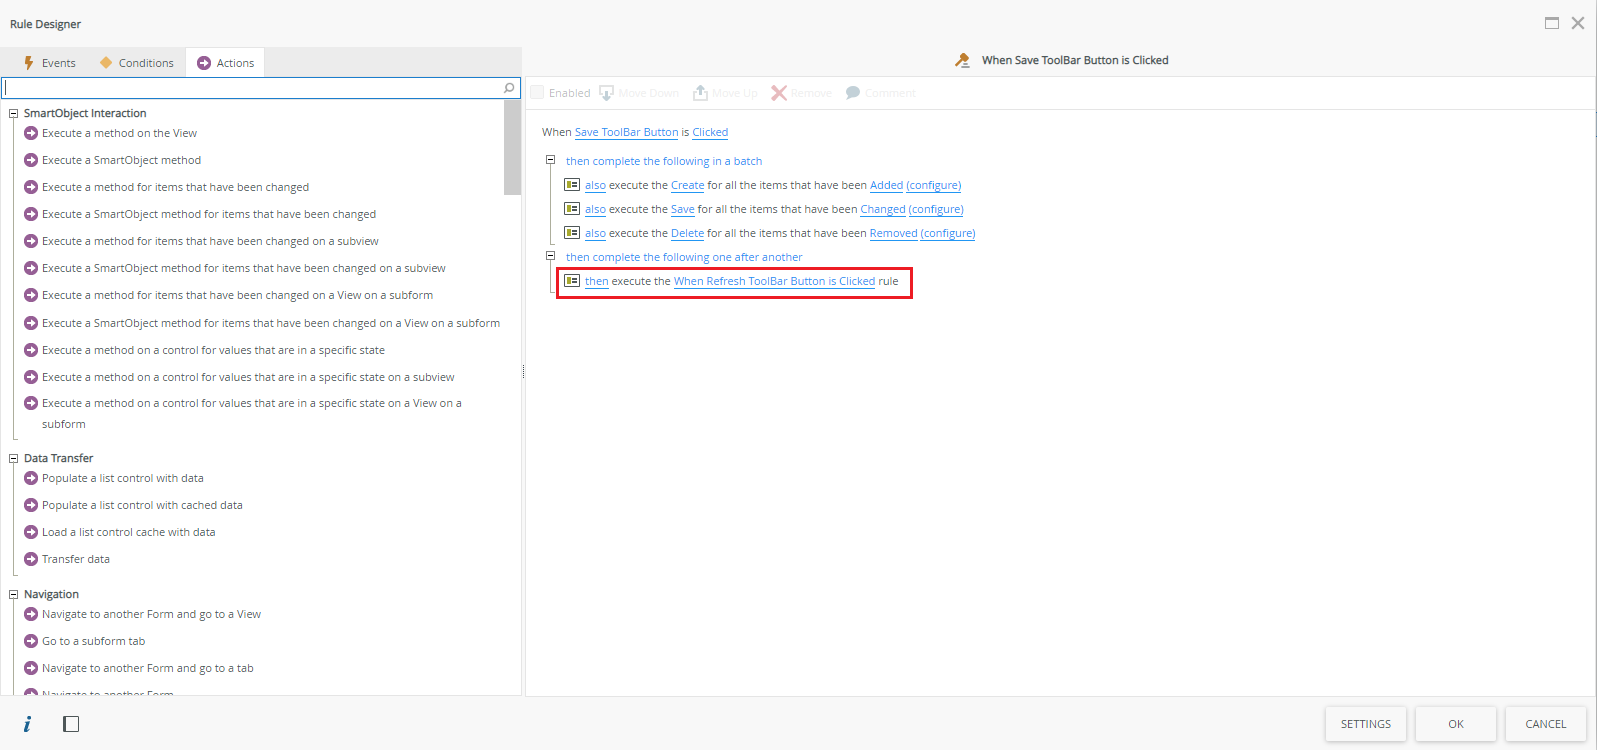
Modify to Save rules and add the action execute another rule then select the rule linked to the Refresh button. Then click on OK.
We reached the end, one last effort 😉
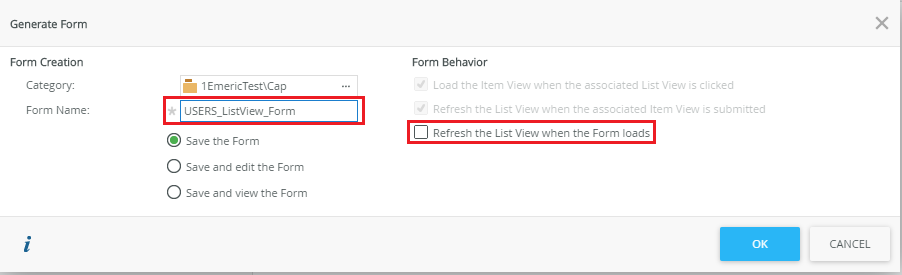
Generation of the form :
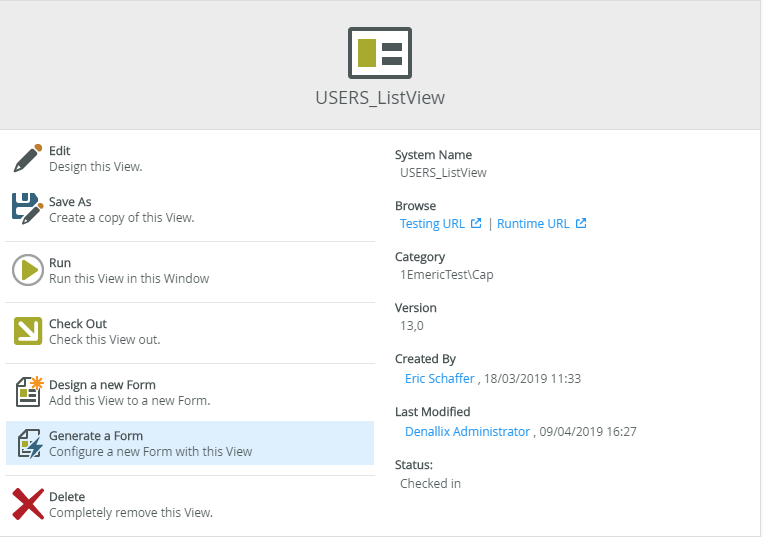
Select the form and click on Test URL
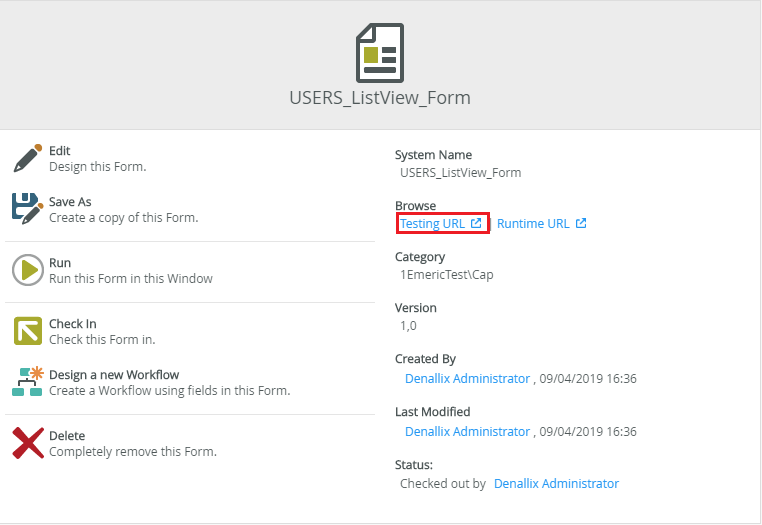
You will have this final result:

That’s the result. Thank you 🙂 .
Hi, In “2 : set a control’s properties” which control setting is modified?
Hi Anas,
Set control’s properties is to reinitialise the datalabel containing the Javascript.
The Text properties is checked to empty the control.
Regards,
JJ
Hi Jayz, In the script rowsShown_XXXXX and rowsTotal_XXXXX should be replaced by the data labels dl_RowsShow and dl_RowsTotal right?
Regards,
Anas
Hi Anas,
Yes
Regards,
Emeric